Below you can find crochet patterns for watermelon coasters and watermelon hair bands I made recently for my girls…
I hope you will like them as much as they do.
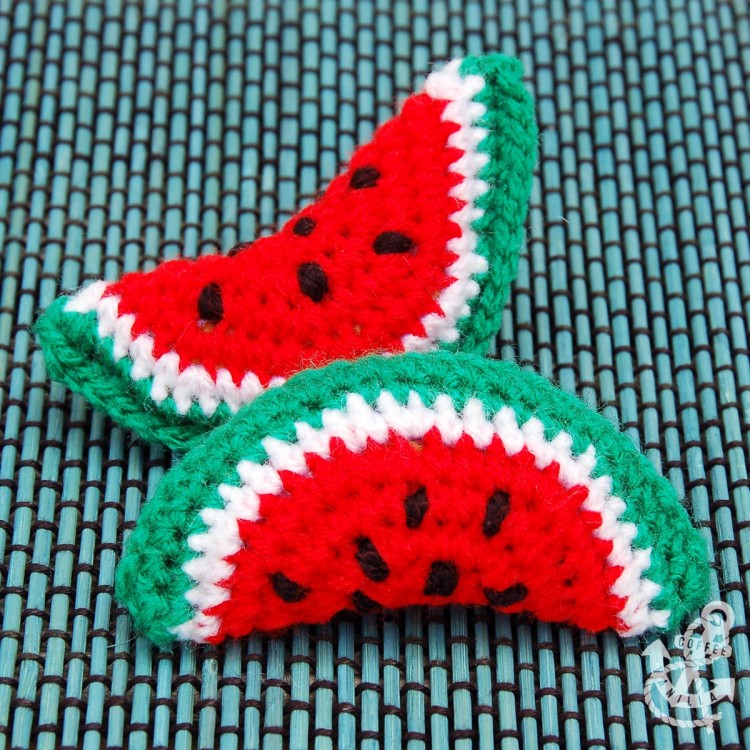
MATERIALS
- red/pink, white, green and black DK yarn for 4 mm crochet hook
- plain elastic hair bands (for the hair bands)
- stuffing – I used leftover pieces of yarn (for the hair bands)
EQUIPMENT
- 4 mm crochet hook
- wool needle
METHOD
Please note that names of the stitches in UK & US vary, this is UK pattern, click through for crochet stitches conversion chart.
stitches used: chain (ch), double crochet (dc), slip stitch (ss)
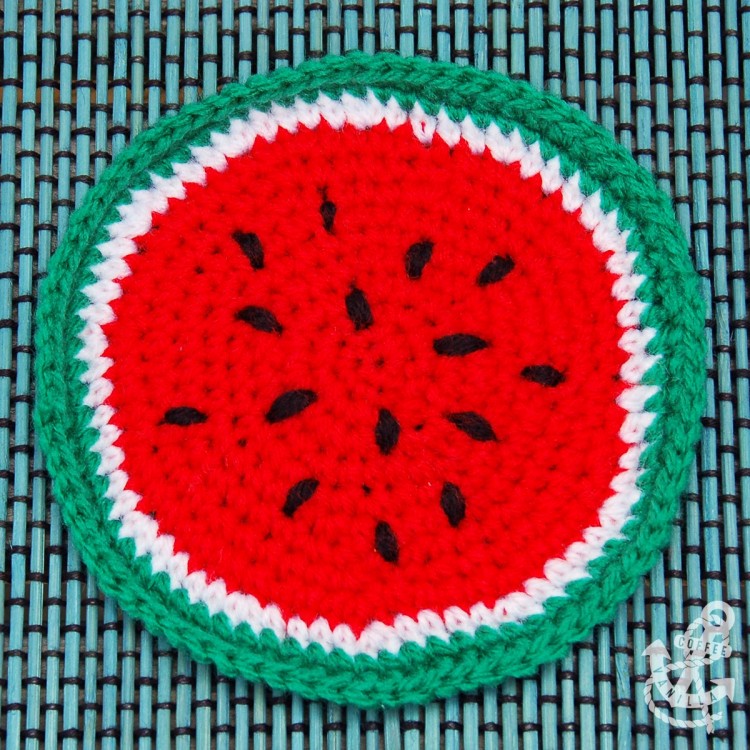
WATERMELON COASTER
- Start with 5 ch, close the chain with ss to create a circle.
ROUND 1 – 3
- To start the new round work 1 ch as first dc and then work 2 dc stitches into each of the foundation stitches, close round with ss.
ROUND 4 – 9
- Work 1 ch as first dc and then work dc into each stitch of the previous round, adding extra dc into every 5th stitch or more often if needed. The circle must stay flat, if it is getting wavy you need to add extra stitches less often, if it is curling up it means you need to add more extra stitches while you are working the round.
ROUND 10
- Change colour of the yarn to white and work dc the same way as in previous round.
ROUND 11
- Again change colour of the yarn to green and work dc the same as in previous round adding extra stitches if necessary. Finish 11th round with ss.
ROUND 12 (FINAL ROUND)
- Using the same green yarn start 12th round normally with 1 ch for the first dc and then work dc around the coaster without adding any extra stitches, finish with ss, fasten off.
WATERMELON SEEDS
- Using wool needle thread the black yarn about three times in the same spot (2 stitches high) to make some watermelon seeds.
- And voilà, the watermelon coaster is ready.
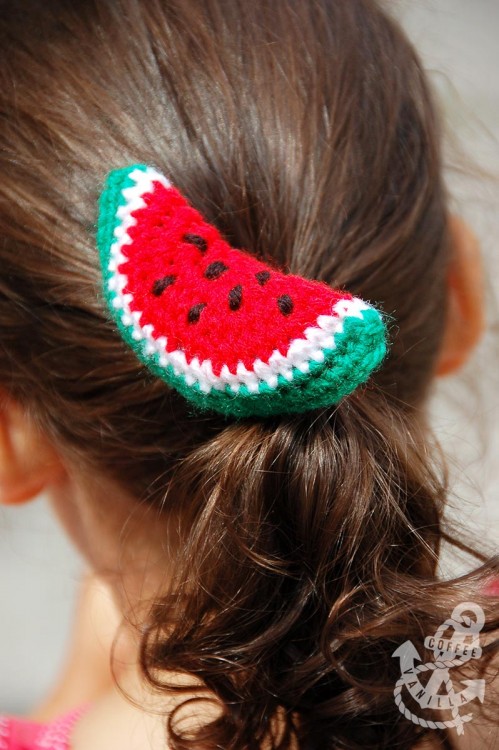
WATERMELON HAIR BANDS
- Start the same as you would be making the coaster but finish working the red part on the 6th round.
- Jump to round 10 to make the white circle and then to round 11 to work the green circle.
- Do not work the final 12th round yet. Make the seeds first, smaller than in the coaster – 1 stitch high.
- Fold the circle in half, stuff with yarn pieces and then work the final dc round (or rather half of the round) with the green yarn to connect the halves.
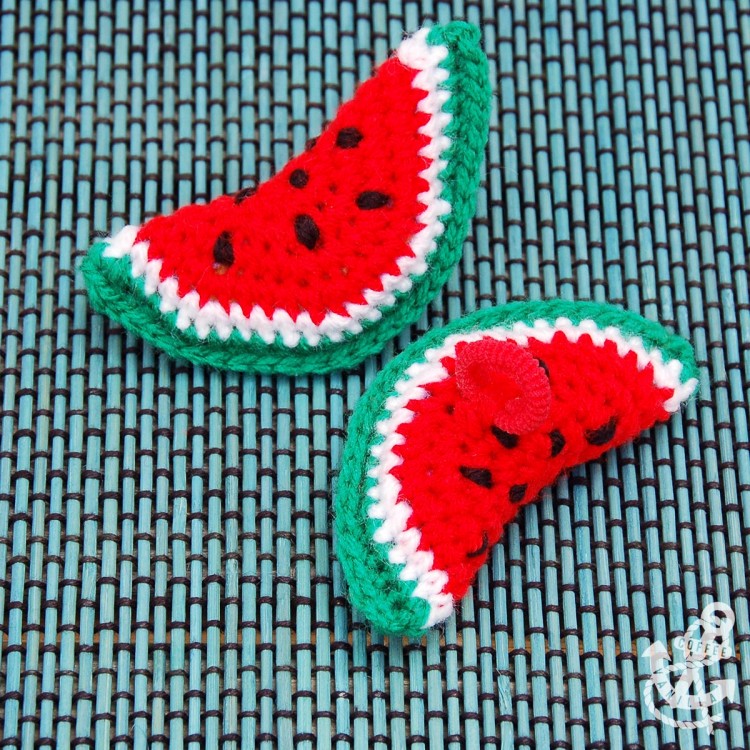
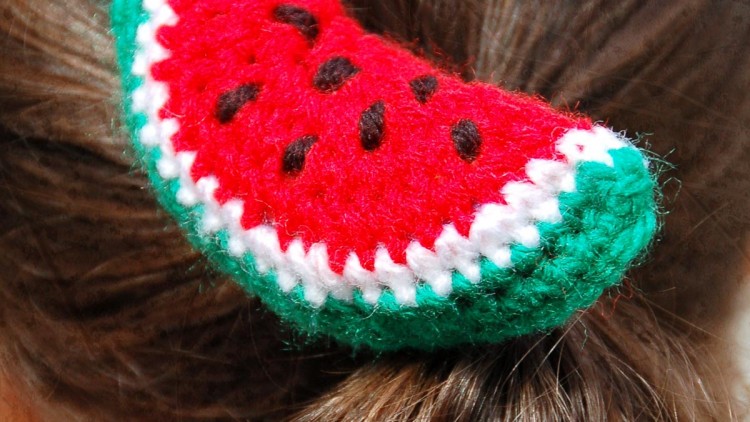
- Finally using the wool needle and piece of the yarn connect hair band to the watermelon as on the image below (I matched the hair bands with the red colour of the watermelon).
NOTES
More crochet watermelon ideas yet to come… In meantime you may enjoy those watermelon nails I’ve done for my daughter or watermelon and other fruity fridge magnets.
More free crochet patterns.
I haven’t done crochet in forever but this is so cute. It makes me want to unearth my supplies again.
Wizzy, I would love to see your crochet creations, I’m sure they will be extremely cute!!!