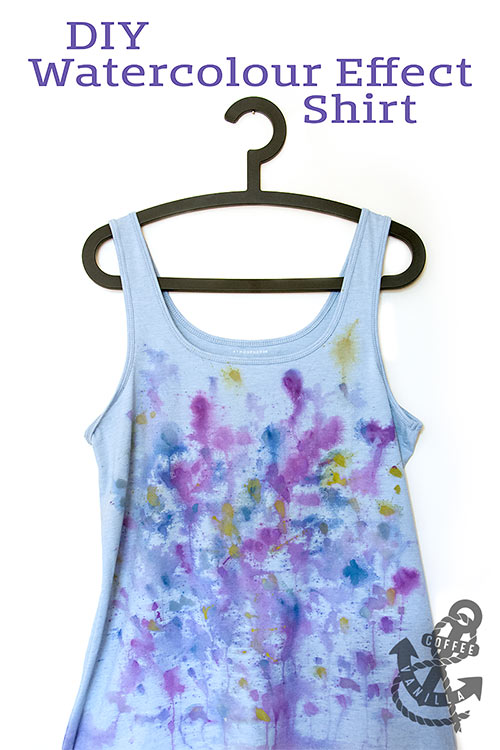
This is another DIY shirt idea I wanted to try for ages, but for some reason there was always not enough time… and this morning I managed to make this plus couple of bleach pattern shirts (including some with Olympic logo) in about 30 minutes all together. It was less time consuming than I thought (!)
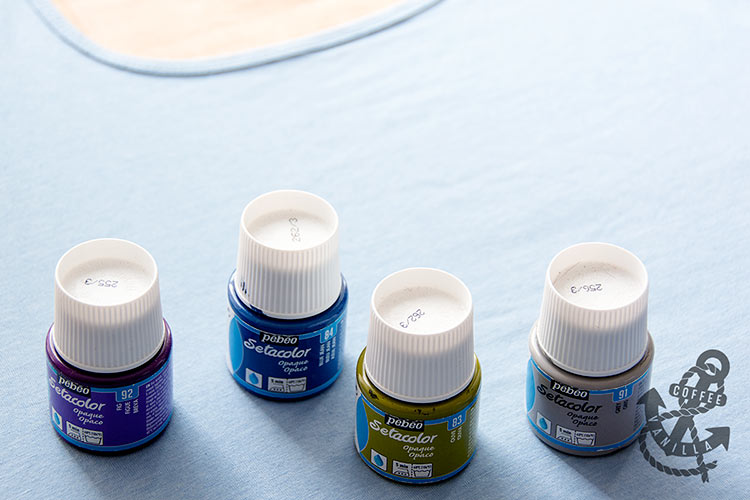
I used here Pebeo acrylic paints for fabric I had leftover from stamping sofa cover (Ikea hack).
DIY fabric like this would make great photography backdrop as well.
MATERIALS
- light in colour shirts / vests (best cotton or other material that can be ironed)
- piece of cardboard (big enough to stretch the shirt on it)
- acrylic fabric paints (we used opaque Pebeo Setacolor opaque fabric paint but transparent would be even better)
EQUIPMENT
- brush for acrylic paints
- paint pallette
- cup of water
- water spray
- iron
- two old (clean) canvas kitchen towels
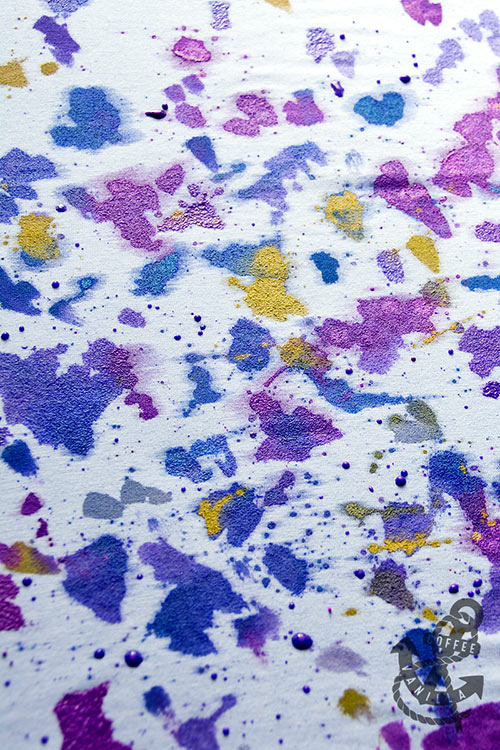
dabbing & splashing
METHOD
- First dab and splash the shirt with slightly diluted paints.
- Hold the shirt in vertical position over the sink or bathtub (make a hole in the cardboard and hang it if you can).
- Spray the shirt with water until paints will start running and you will achieve required effect.
- Leave it hanging until it will stop dripping.
- Then move (still with the cardboard inside) somewhere where it can dry out.
- Remove cardboard from inside and replace with piece of cloth (kitchen towel).
- Iron through another kitchen towel to turn the watercolour patterns into permanent design.
- Wear and wash as any other shirt.
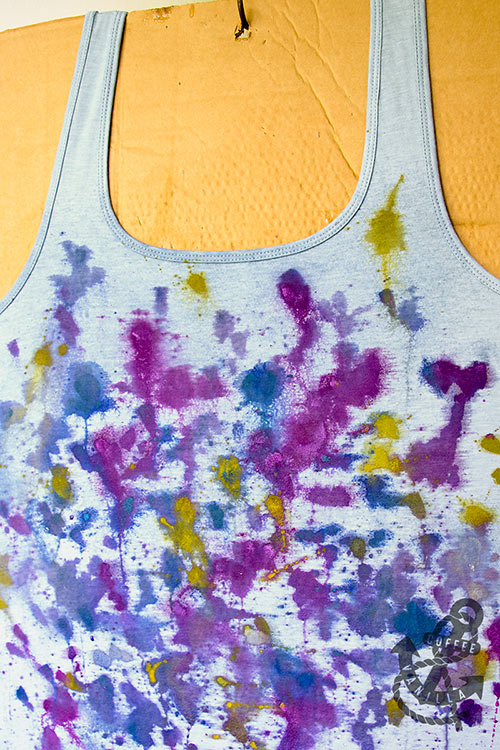
spraying with water
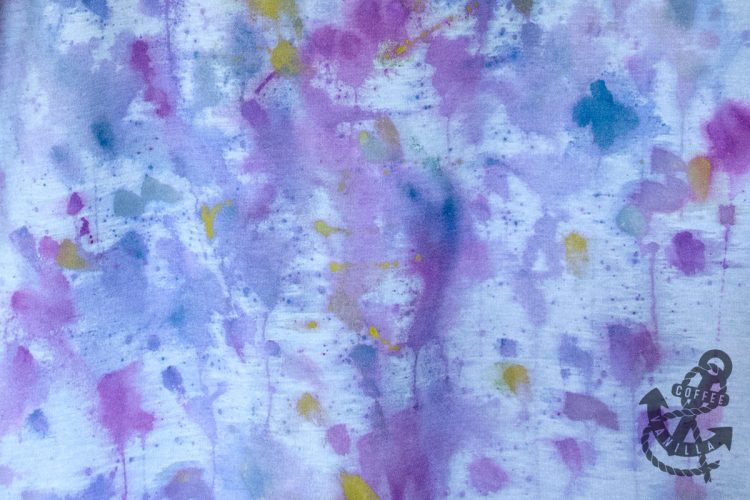
the final effect, after being dried and ironed
TIPS
Watercolour effect can be applied in addition to the bleach effect we made, for best result use the bleach first, wash the shirt, dry and then apply acrylic paints.
NOTES
For more summery ideas take a look at our Tie Dye Beach Towel and Tunic, Boho Style Granny Square Bags, Bohemian Style Wrap Bracelets, Summery Tie Dye T-Shirts Tutorial, Watermelon Crochet Coasters & Hair Bands or Summer Kids’ Nail Art.
Your thoughts…