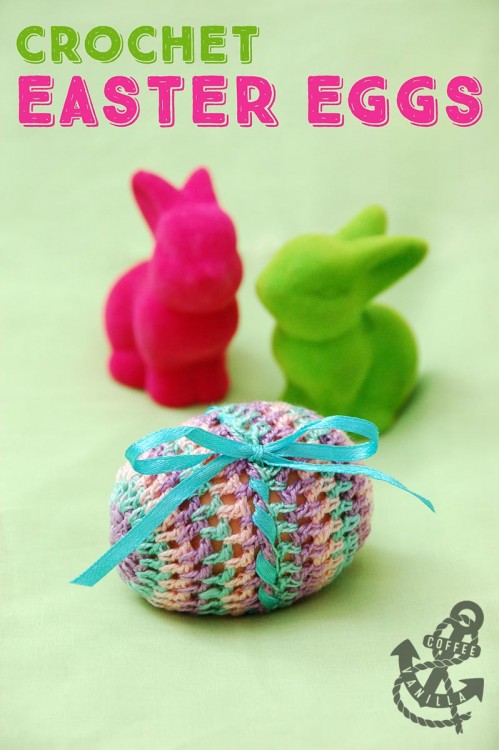
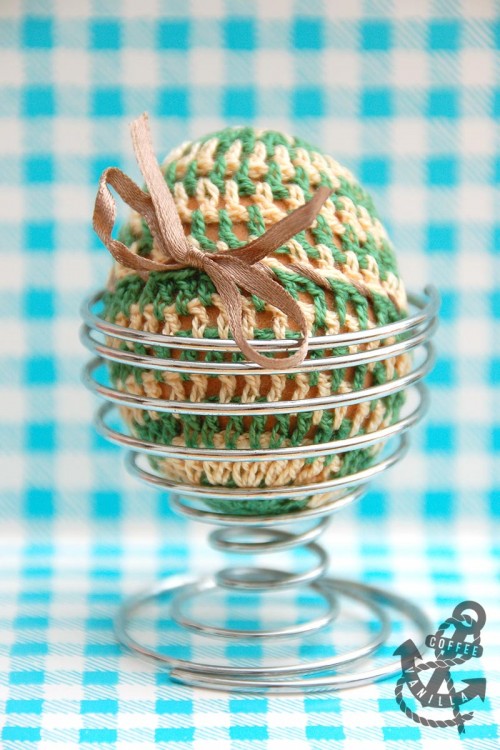
Those crochet pisanki (also called pysanky in some parts of the World) can be reused year after year, it is quite easy to untie the ribbon and remove the egg.
MATERIALS
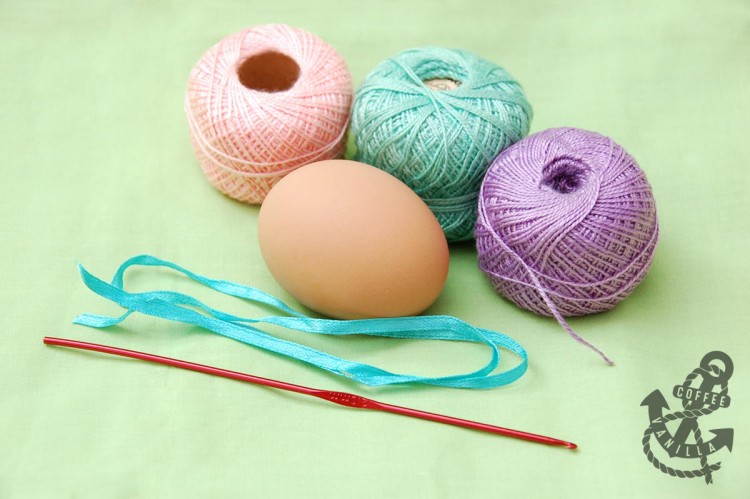
- crochet cotton thread (for 2.00 mm hook) – few colours
- pieces of ribbon
- hard boiled eggs
EQUIPMENT
METHOD
Please note that names of the stitches vary, this is UK pattern, click through for UK to US crochet stitches conversion chart.
stitches used: chain (ch), treble / triple crochet (tr), slip stitch (ss)
FOUNDATION CHAIN
Start with 6 ch, close the chain with ss to create a circle.
ROUND 1 (FOUNDATION ROUND)
To start the new round work 3 ch as first tr and then 10 more tr stitches into the ring, close round with ss.
ROUND 2
Using the same colour work again 3 ch, 12 tr in between each of stitches from the previous round, close with ssl.
ROUND 3
Connect another colour, work 3 ch to start the round, then work 2 tr into each space between tr from the round 2.
ROUND 4 – 8
- Work 3 ch and then 1 tr into each space between tr from round 3, close with ss.
- Continue like this until the end of round 8, changing colour of the yarn on the beginning of each round.
- Work more than rounds 8 if it is required to cover half of the egg.
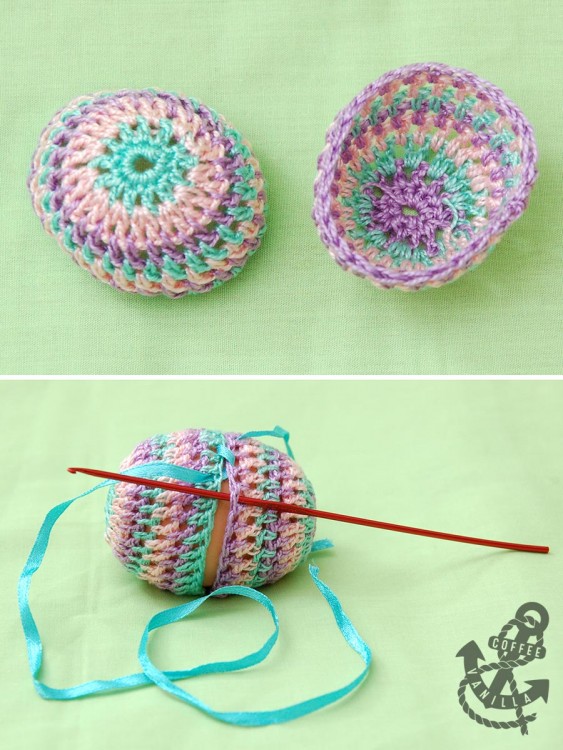
Make two of those halves for each of the eggs.
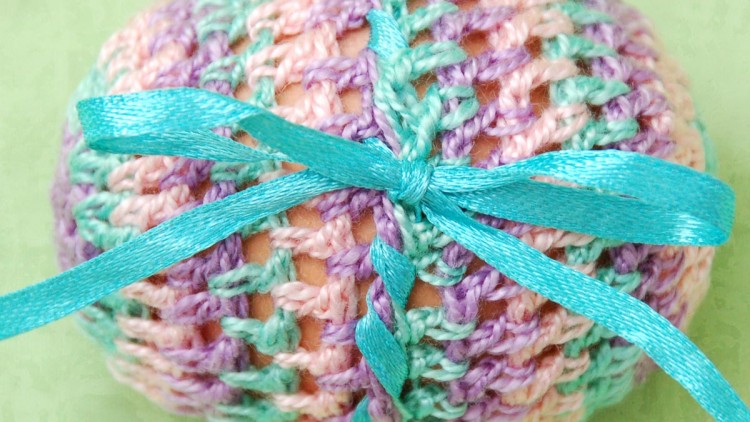
Then tie them on the egg with a ribbon threading it through every second space in between stitches.
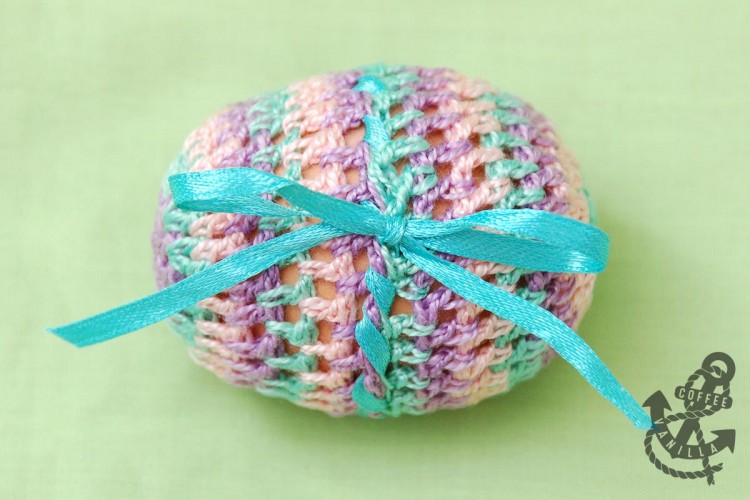
Finish tying a bow to close the egg inside.
NOTES
Take a look at more egg decorating ideas or other Easter crafts and recipes here.
Swietnie to wyglada, musze tez sporobowac.Wesolych Swiat
Bardzoooo dziekuje! :)