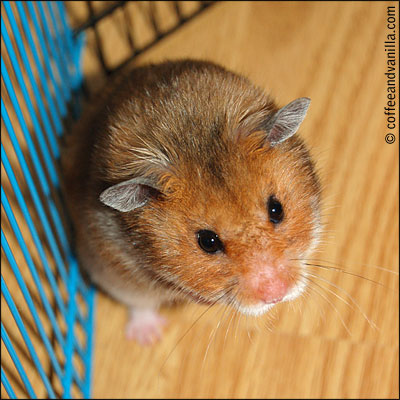
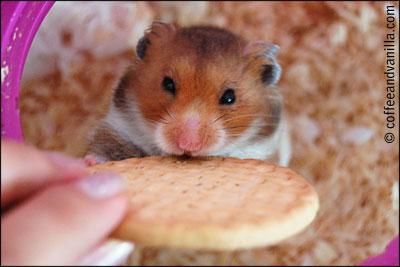
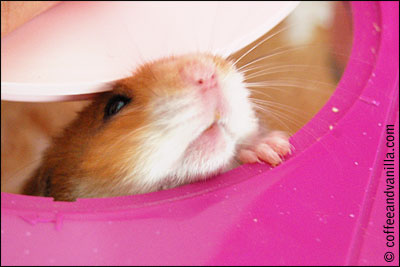
Let me introduce to you my daughter’s pet – Syrian hamster called Toffy. I posted previously a little bit about his peanut free food and his indoor garden we made for him but at this time he was still too camera shy to let me take proper close-up photos of him… and finally here they are.
Toffy lives in quite large habitat made of two hamster cages (Rotastak Dreamland Housing + Rotastak Genus 200 connected with set of spaghetti junction tunnels (Rotastak Curvy Tubes), all together about 4209 cm² / 652 in² floor space (not counting the tubes or the travel case).
Setting up the tubes is a pain but once it is done it is pretty easy to clean the cage without disconnecting the parts as in both cages bottom trays are connected to the rest with two clips only so you can remove it quickly, clean it, lay with new shavings and place it back within less than 15 minutes.
Set-up 1
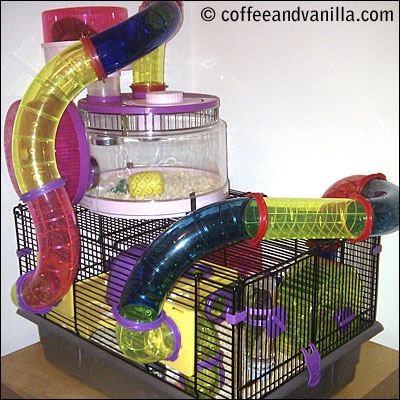
At first we had two spinning wheels connected but Toffy started to use one as his toiled so it was temporary removed until he finished his potty training (yes, hamsters can be potty trained). The same story was with the travel case that was connected with the tubes as an extra room behind the cage…
Set-up 2
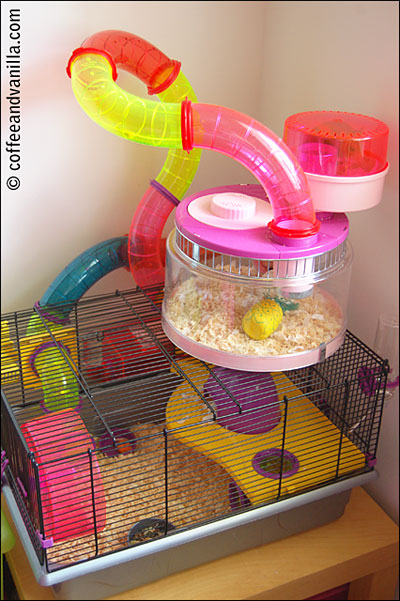
In the second setting I swapped the wheel from the main cage with the spare pink one (disconnected from the top cage) because my daughter liked the pink one better.
Travel cage stayed separate as place to connect water bottle while hamster was in his indoor enclosure running in his garden, I used to also connect the spare spinning wheel to it for extra garden activity.
I noticed that if there is two tubes leading to the same place in the cage, hamster will always block one. It can be easily unblocked with soft wire (used one from old computer) or even with the toothpick, just wiggle it inside the tube hole to loosen up the bedding and it will start going down…
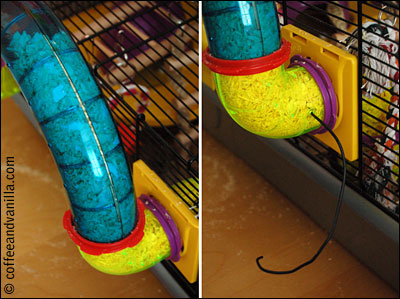
Our current set up looks like this…
Set-up 3
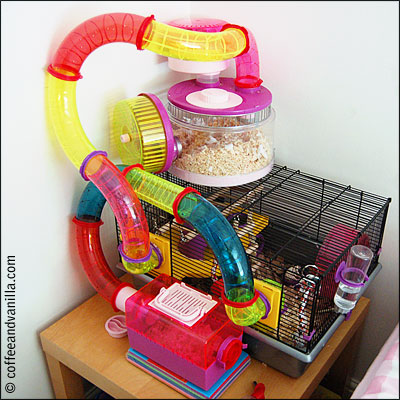
Toffy got his second wheel and travel case, as an extra room, back. He started to use one corner of the main cage as a toilet but still not the special potty that is oval and does not fit properly in the corner…
Previously we used Trixie enclosure for his garden playtime but it was not so safe. The parts are quite hard to put together and once you succeed you have to be very careful not to break it open, any little movement could destroy the construction. Toffy could push it around the room with ease until he threw it down or climbed over it, so not only we couldn’t leave him unattended in the enclosure but we had to have eyes on him all the time… once he almost escaped.
Right now we are using 84 litre Really Useful Box for playground which is so much better / safer than the metal enclosure.
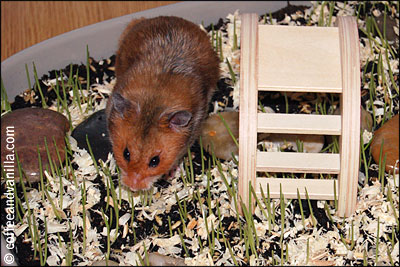
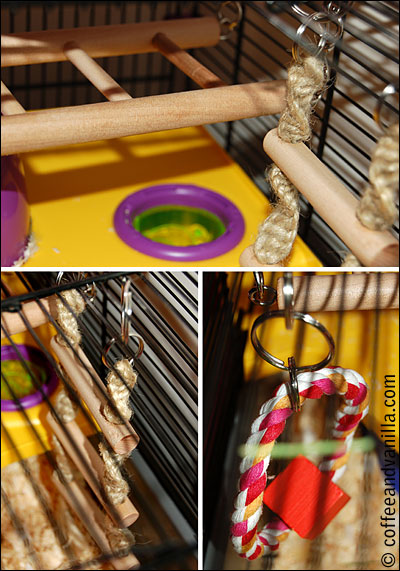
Recently we got also suspension bridge with hanging ladder, ring and string but Toffy is not really interested in playing with it, except gnawing on the string. He has never climbed the ladder or the hanging bridge. The whole thing was also too big for Rotastak Genus 200 habitat so I had to hang each part separate directly from the roof of the cage… Still waiting, maybe he will start climbing it one day…
Tips & Tricks
- Squeaky hamster wheel can be fixed with generous portion of unscented vaseline / petroleum jelly inside the spinning part.
- Connector rings will be easier to put on he tubes once soaked in hot water for a while.
- Comparing the new Rotastak anti-gnaw rings much easier / safer to connect & disconnect.
- I was asked several times if you can connect old and new Rotastak cages together, yes you can if you have extra tubes. But you can’t disconnect the tubes while the hamster is inside the cage because there is no way to block it. In old Rotastak cages each tube exit could be simply closed with a plug… sadly they are not fitting to new cages.
Accessories used:
Rotastak Curvy Tubes and Adaptor Kit
Rotastak Small Animal Housing Genus 200, Purple
Superpet Hamster Potty (corner potty would be better for our cage)
Trixie Joy Indoor Run (not recommended)
Small Animal Rainbow Play Bridge
Superpet Hamtrac Run-about Exercise Ball for Small Animals
NOTES
RSPCA recommends cages that are at least 75 cm x 40 cm wide (3000 cm²) and 40 cm / 15 in tall. If you can’t afford right size of the cage big storage box with added mesh or ventilation holes can be a good replacement, aim for something like 84 litre Really Useful Box that has 3124 cm² / 484 in² floor space.
Please note, this post in not sponsored by any of the mentioned companies. It just happen that the first cage was Rotastak (because it was glittery and pink) and then we continued purchasing matching accessories.
Some of mentioned products reviews can be found between my other reviews on Amazon page.
We will be updating this post with any new additions to our hamster kingdom… new set-ups, accessories etc.
More hamster posts can be found here.

Impressive cages
WoW!!! amazing cages
Hello, was just wondering what you’ve used in the bottom of the 84ltr for your hamster
Hi Megan, we have used wooden shavings mostly, and some pebbles in one corner where the water bottle was located. Hope it helps.
Just wondering: what kind of wood shavings do you use?
Hi Alicia, we used to use regular shavings from the supermarket, different ones… Morrison, Tesco & Asda.
Hey I was wondering where i could get some tubing and the extra room for a good price. We want our dwarf hamster to be happy without spending an arm and a leg.
I got most of our stuff on Amazon, couldn’t find it cheaper.
I just wanted to say that when you are measuring floor space for a hamster you should just measure the single main space, extensions and levels don’t count as hamsters in the wild would have miles of open land to move about on x
That’s true. Our hamster had the pictured set-up plus the 84-liter box during the day.