Ever since I remember I’ve been always fascinated by dotted patterns: from Aboriginal dot painted art, through Raechel Saunders paintings to Yayoi Kusama’s work. I was even involved in a project inspired by Kusama’s artworks a while back when I attended art classes in London but for some reason never got around to do anything about it myself until some time last winter.
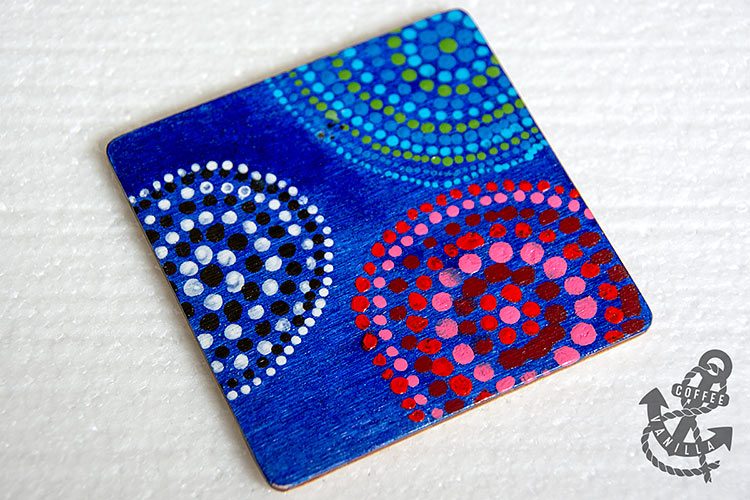
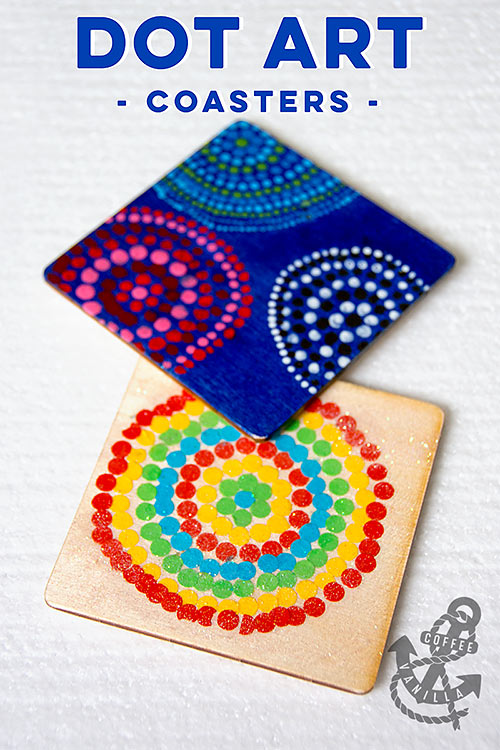
Not by coincidence I placed couple of coasters and acrylic paints into countdown calendars for my girls so they could also try their hand at the dot art. The bigger one was using acrylic paints and the smaller one was sticking confetti circles onto the wooden coaster. Results can be seen below… they may not be perfect but it was our first attempt, the next one will be (hopefully) much better.
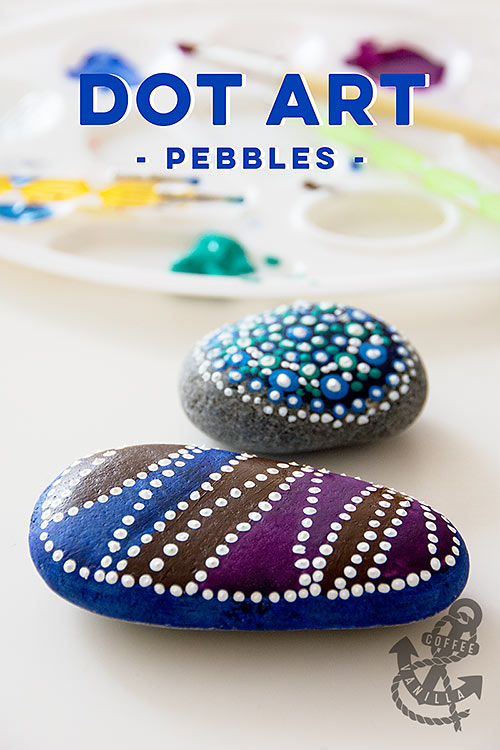
PAINTED DOT ART
MATERIALS
- wooden squares (£3.99 / pack of 10) for coasters or pebbles (for paperweights)
- acrylic paints
- glaze (for wooden items – we used gloss Mod Podge, decoupage glue and glaze in one)
EQUIPMENT
- dotting tools (for nail art), small paint brushes, rubber side of the pencil or even cotton buds
- paint brushes
- paint palette
METHOD
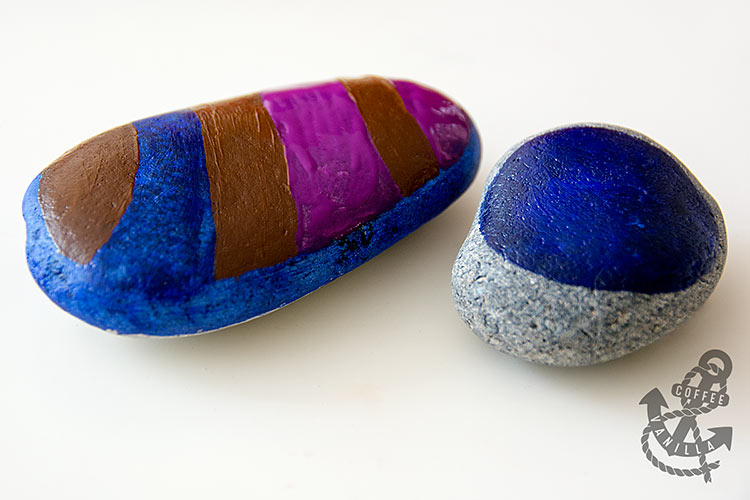
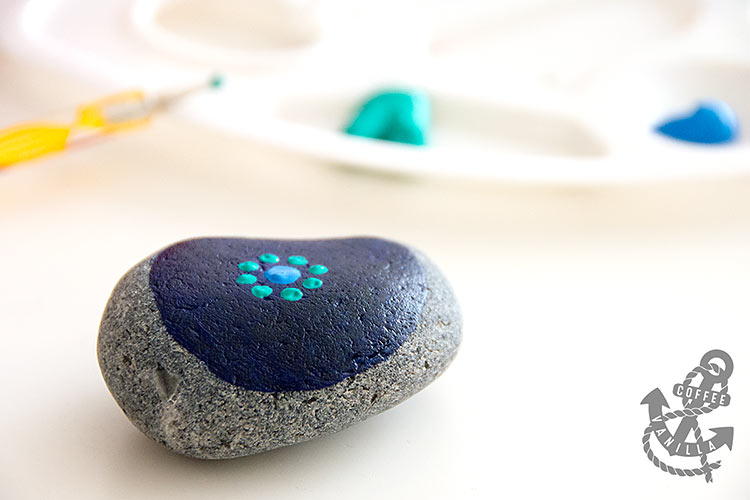
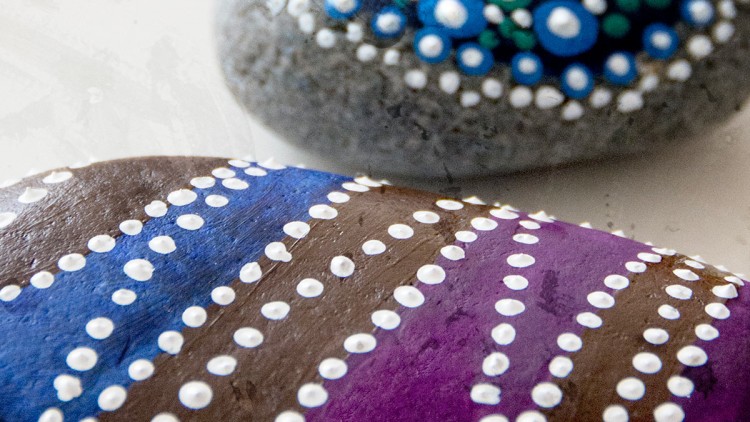
- For the paint decorated items start with darker paint on whole or part of the object (for instance circle in the middle of the stone).
- Leave aside to dry.
- Then apply patterns dotting with lighter paints.
- For wooden items – once the paints are dry, finish off by glazing the whole thing.
CONFETTI DOT ART
MATERIALS
- wooden squares for coasters, pebbles or some other objects to decorate
- colourful papers to make confetti
- craft glue
- glaze
- glitter powder – optional
EQUIPMENT
- hole puncher
- paint brush (for the glaze)
METHOD
- For the confetti dot art simply stick confetti onto the object.
- Then secure design with glaze.
- Optionally sprinkle with glitter while the glaze is still wet.
- Leave aside to dry completely.
NOTES
Dot art pebbles (paperweights) and coasters make great handmade gift for a right person.
More ideas for kids.
More crafts.
Your thoughts…