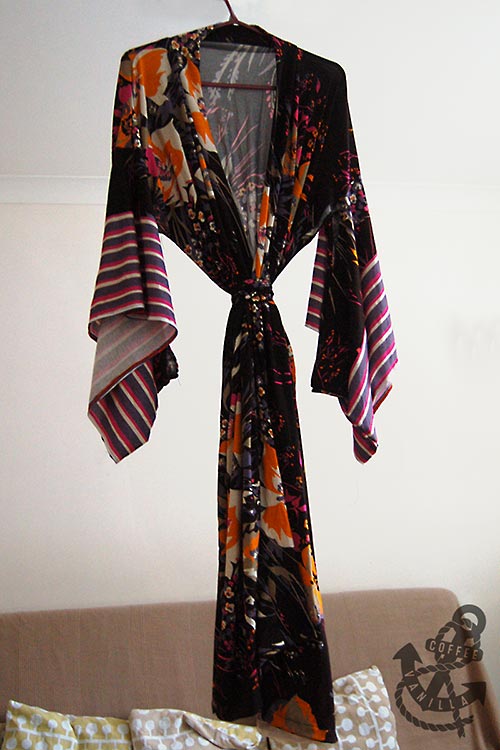
Together with my older daughter Marissa we were preparing for the World Book Day since last year, I even joined textile class mostly to sew kimono (thank you Gönül for all the help) because she has planned to be Amy Hodgepodge. We had everything ready: kimono, hair chopsticks, fan etc. just to find out from school letter that kids should dress up as an animal character this year…
Not thinking much we decided that Snoopy outfit would be perfect, especially that “Peanuts” strips by Charles M. Schulz are my daughter’s long time favourite, and not too hard to make at the same time.
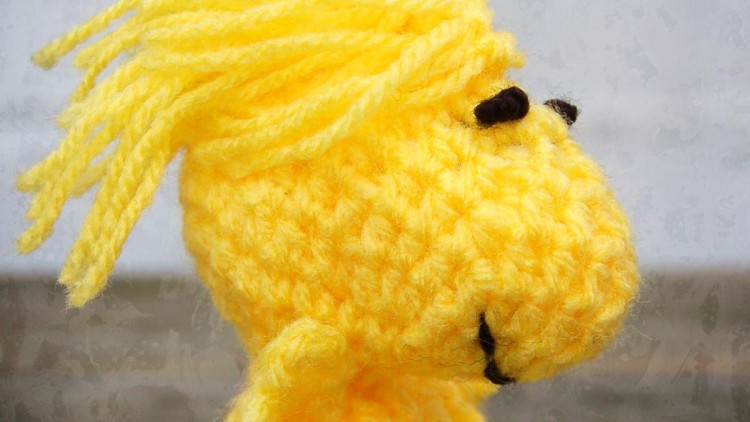
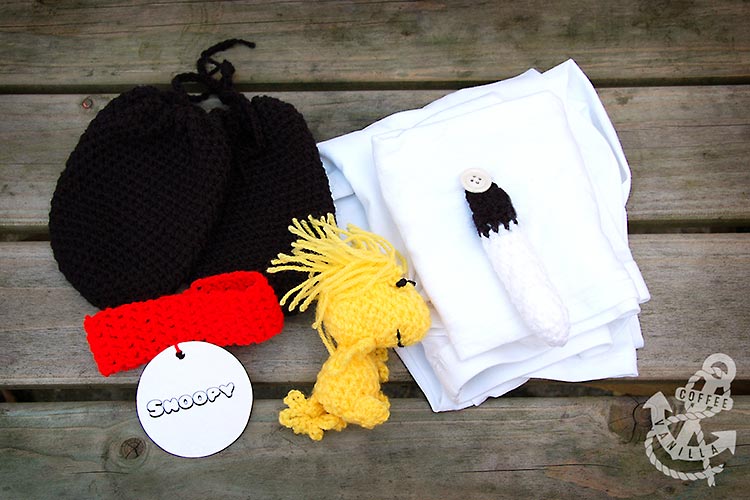
It took me one evening to crochet the ears, collar, tail and the Woodstock toy ;) If you have more time you could also make single black patch for the back of the shirt…
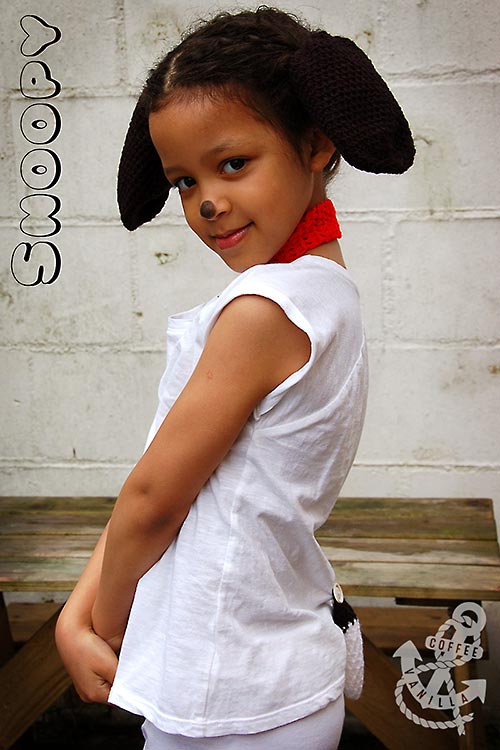
My daughter wore white t-shirt, white leggings and white shoes. I sewed on white button on the back of her shirt to connect the tail. We also printed out words “Snoopy” for the front and “Peanuts” for the reverse of doggy tag (fonts can be found here: Peanuts font and Snoopy font), glued them to a piece of round cardboard, made a hole with a puncher and connected the name tag to the collar with piece of yarn. The ears were tied to the pony tails.
MATERIALS
- white, black, red and yellow yarn for 4 mm hook
- 2 buttons: red & white
- some cotton wool or other material for stuffing
- white and red thread
- round piece of cardboard and paper for the doggy tag
- black face paint or eye-liner for the nose
EQUIPMENT
- 4 mm crochet hook
- wool needle to make Woodstock mouth and eyes
- regular needle for buttons
- hole puncher
- printer or black marker
METHOD
Please note that names of the stitches in UK & US vary, this is UK pattern, click through for crochet stitches conversion chart.
stitches used: chain (ch), slip stitch (ss), double crochet (dc), half treble (htr)
TAIL
ROUND 1 (foundation round) – using white yarn
5 ch
ROUND 1 – 2
work dc adding extra ch in between stitches
ROUND 3+
work htr until the tail is almost long enough, then change to black yarn and work 3 more rounds
stuff the tail with cotton wool and seal with row of ss
BUTTON LOOP
4 – 6 ch (depending how big the button on the shirt is)
finish off with ss
EARS
ROW 1 (foundation row)
6 ch
ROUND 1
dc all the way around foundation row
ROUND 2
2 dc into each stitch of the previous round
ROUND 3
htr through entire round
ROUND 4
work htr adding extra stitches (into the same stitch) every 3rd stitch
ROUND 5+
htr for as many rounds as needed to make the ears long enough, close with ss
STRING
work about 75 – 80 ch, close with ss, thread the string through the last round of the ear
Repeat the same steps to make another ear.
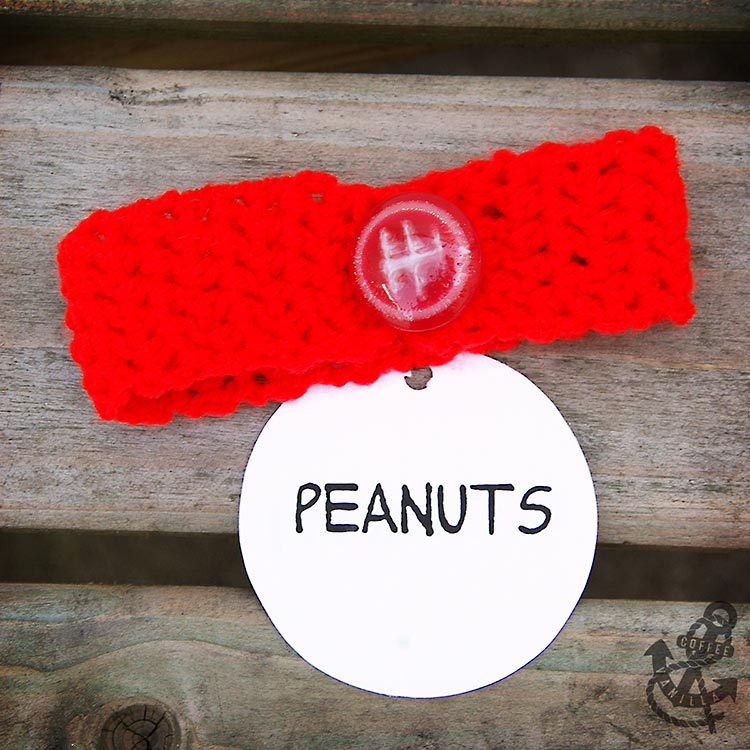
RED SNOOPY’S COLLAR
ROW 1 (foundation row)
6 ch + 2 extra ch
ROW 1+
5 htr, 2 ch
LAST ROW (Make it a bit shorter than needed as it will stretch.)
5 htr
BUTTON LOOP
5 ch, finish with ss
Sew on the button.
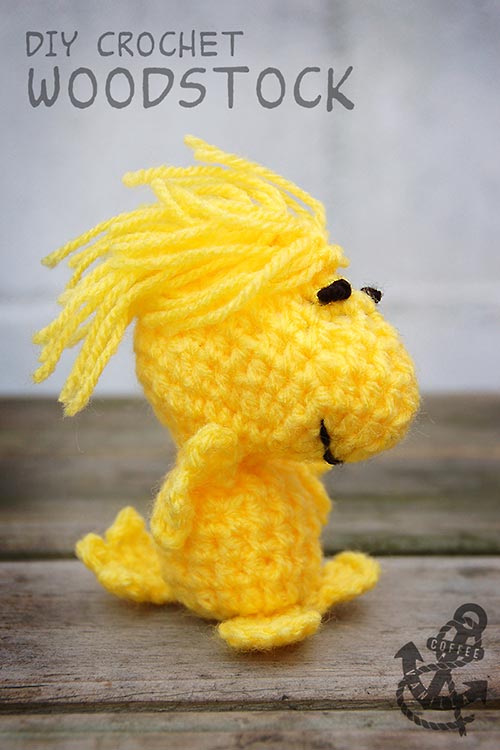
WOODSTOCK TOY
First make feet, wings and the tail so you can connect them once you are going along and stuffing the toy.
WINGS
3 ch ring closed with ss
then 3 times 5 ch, ss into every second stitch of the circle to create the loops for the feathers
repeat the same to create another wing
FEET
3 ch ring closed with ss
work ch, dc, ch, dc etc into the ring
then on one side of the circle work 3 ch, 4 dc, ss to create the toes
repeat the same to create another foot
TAIL
start with 3 ch + 1 ch, turn over
3 dc + 1 ch for 4 rows
5th row 3 dc only
then work 6 ch ss 6 ch ss into every stitch of the previous row to crate 6 feathers
HEAD & BODY
5 ch ring closed with ss + 1 ch
next round – dc, ch, dc, ch etc.
connect the feet
work htr for about 4 – 5 rounds, connect the tail when you on 3rd – 4th round
then start reducing working htr every second stitch until the body starts closing
connect the wings
stuff with cotton wool without disconnecting the yarn
start working on the head – dc, ch, dc, ch etc. for 2 rounds or till the head seem to be wide enough, must be bigger than the body
then work dc adding ch only on the front of the head for 1 round
2 rounds of htr
then start reducing to close the head – work htr skipping every 3rd, and then every 2nd stitch
stuff the head with cotton wool
close with line of ss on the top of the head
pull pieces of thread through the ss stitches and tie them on the top of the head for hair
use black yarn and wool needle to make the mouth and eyes
FINISHING TOUCHES
Now all you need to do is to draw some black dot on the nose and voilà, the Snoopy outfit is ready!
NOTES
Looking for more fancy dress ideas for kids, check out our DIY outfits here.
