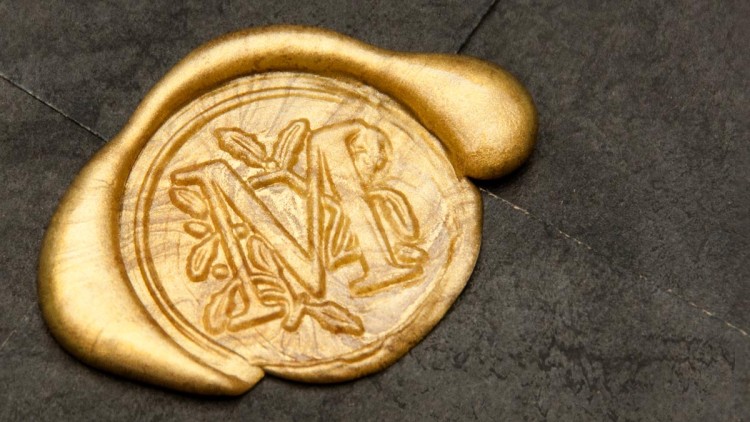
Who does not like to receive old fashioned snail mail letters? I adore them and so do my girls who seem to share my love for crafty things. Now we have excuse to start sending more letters decorated with beautiful wax seals…
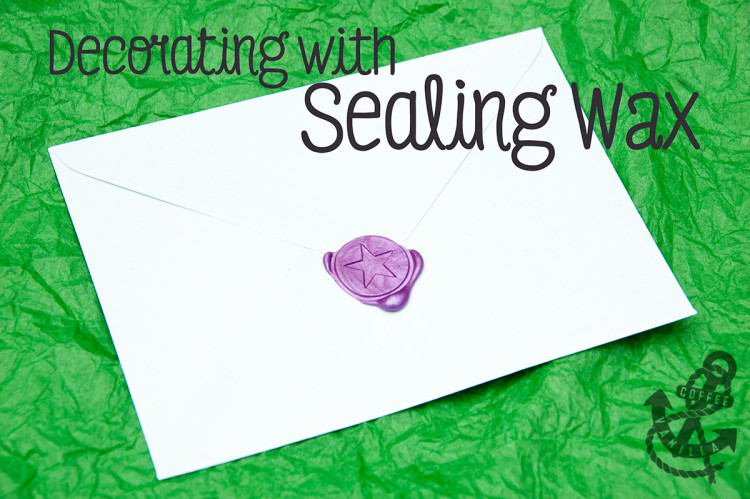
They are not only good for letters but also invitations, gifts, gift tags, achievement notes, home-made preserve jars and more.
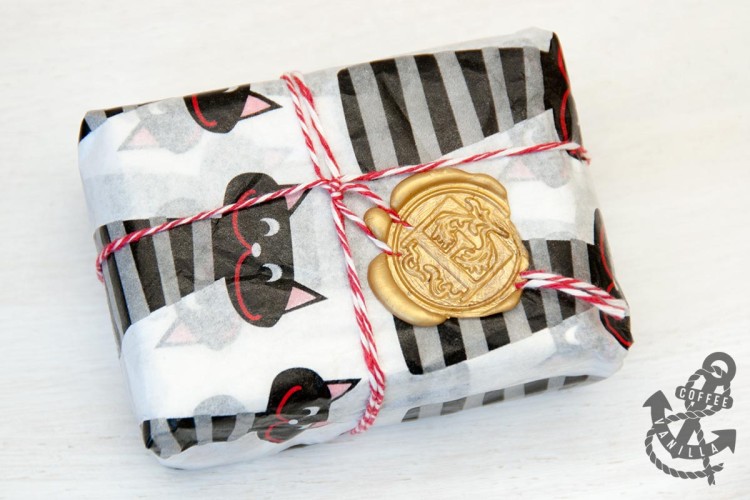
Modern sealing wax is not is not a real beeswax but mixture of different materials: resin, shellac, wax, sometimes is made of more or less the same material as the glue gun stick so if you are in possession of a glue gun already, you can simply get colourful glue sticks and start sealing right away.
Faux sealing wax, also called flexible sealing wax or glue gun wax is shatter proof and can easily survive bumpy travel in the post office system. It is also quite easy to remove without damage to the envelope.
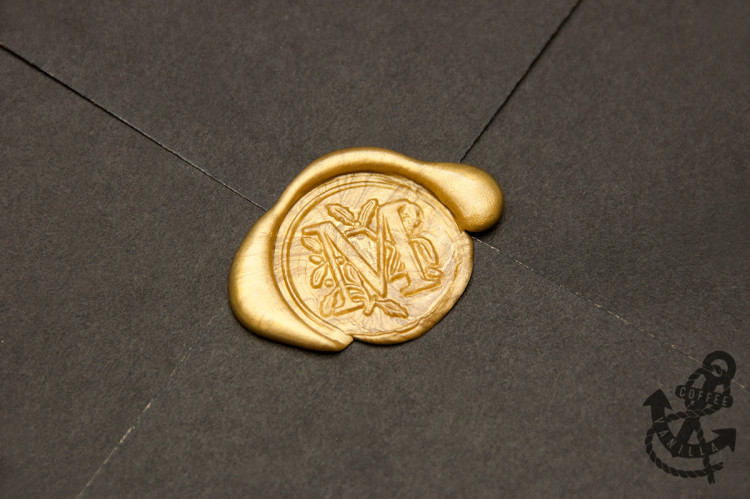
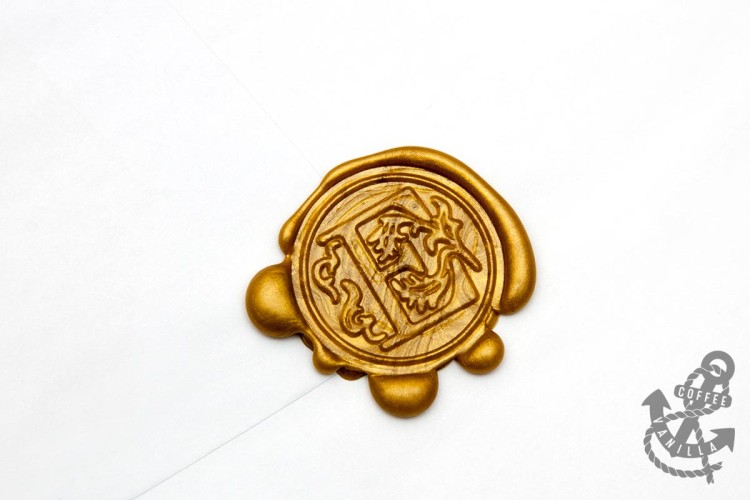
Buying special sealing stamps does make sense, especially that those stamps are pretty useful for other things: salt dough, air drying modelling clay, polymer clay or even fondant sugar to create decorations, play coins, pendants, cake toppings and more, but if you just want to play around with kids, metal button pushed into old wine bottle cork will work here perfectly.
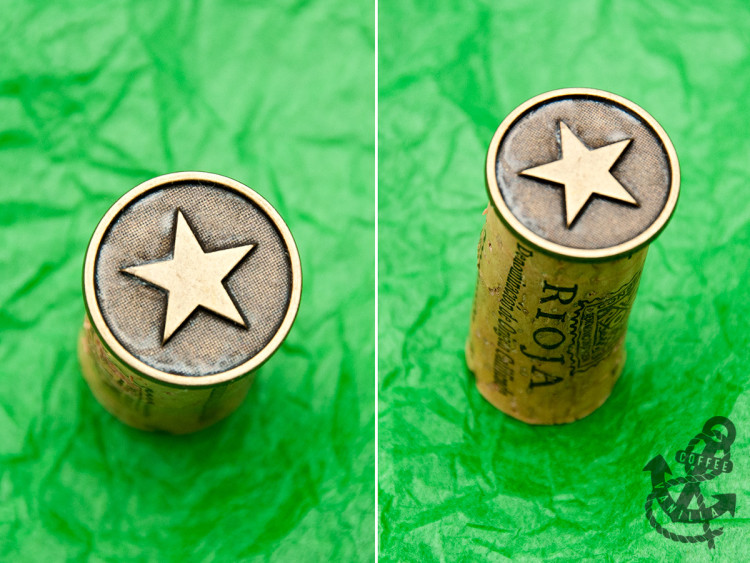
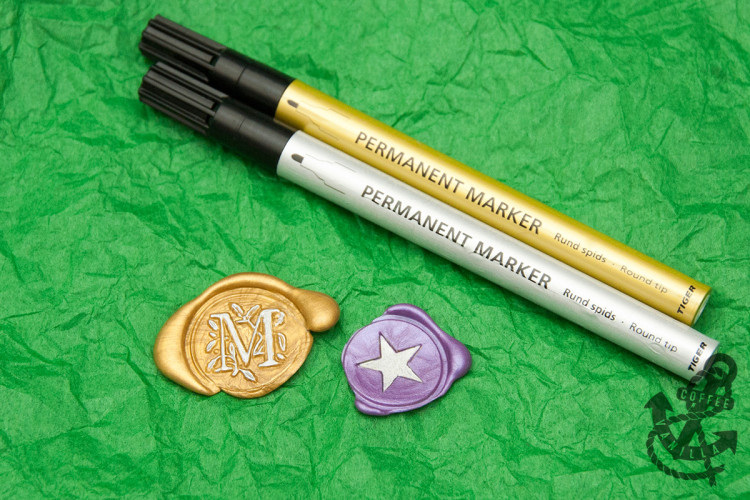
Moreover, there is no need for special metallic powders to highlight the seal pattern, metallic permanent markers will do the trick, they are also more precise than the powders.
MATERIALS
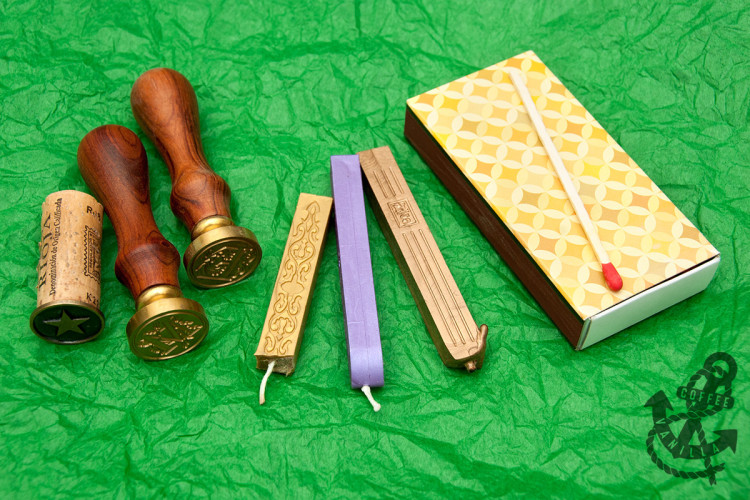
- sealing wax candles, sealing wax beads or colourful glue gun sticks
- permanent metallic markers – optional
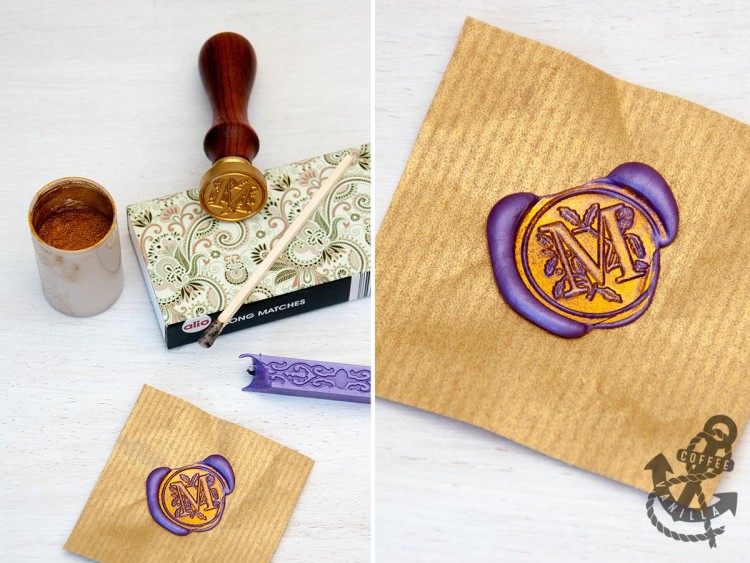
- metallic powders or glitter and other sealing wax accessories – optional
EQUIPMENT
- brass seal / some flat metal button or coin and recycled wine bottle cork
- glue gun – optional
- metal spoon and tea light candle (for melting sealing wax beads)
- matches
METHOD
- Depending on the kind of sealing wax you are using either light the sealing wax candle and let it drip over the letter (about 20 – 25 drops should be enough) or melt the sealing wax beads in a spoon over the tea light candle and then pour melted wax onto the envelope or use the glue gun loaded with the colourful glue stick.
- Press with the sealing stamp into the wax while still hot.
NOTES
Some coins will work as the seals although most of the coins does not have pattern embossed enough. They can be attached to the cork with some Blu Tack.
For play purposes you can probably use plain beeswax candle as well but we haven’t try this.
If you don’t have time for all this and still would like to decorate your letters with wax seal there are always wax seal stickers on the market ;)
More gift wrapping ideas.
More paper crafts.
More crafts and other DIY projects.
More upcycling & recycling.
I did basically the same thing for my wedding invitations – we used colorful glue sticks so that the seals would survive going through the mail. However, the hot glue had a tendency to get really stuck to the brass seal, and sometimes separating the two would rip the seal off the envelope and ruin both. I found that keeping a bowl of ice water handy and letting the brass seal (or whatever seal you use) sit in it between uses helped. The cold seal sets the design in the hot glue instantly and pulls away clean.
Hope this tip helps!
Thanks for the tips Cheryl, much appreciated.
The sealing wax I use is completely mail resistant, we used it many times and it never cracked. Those seals do feel more like melted plastic than wax really…